 Pro Features
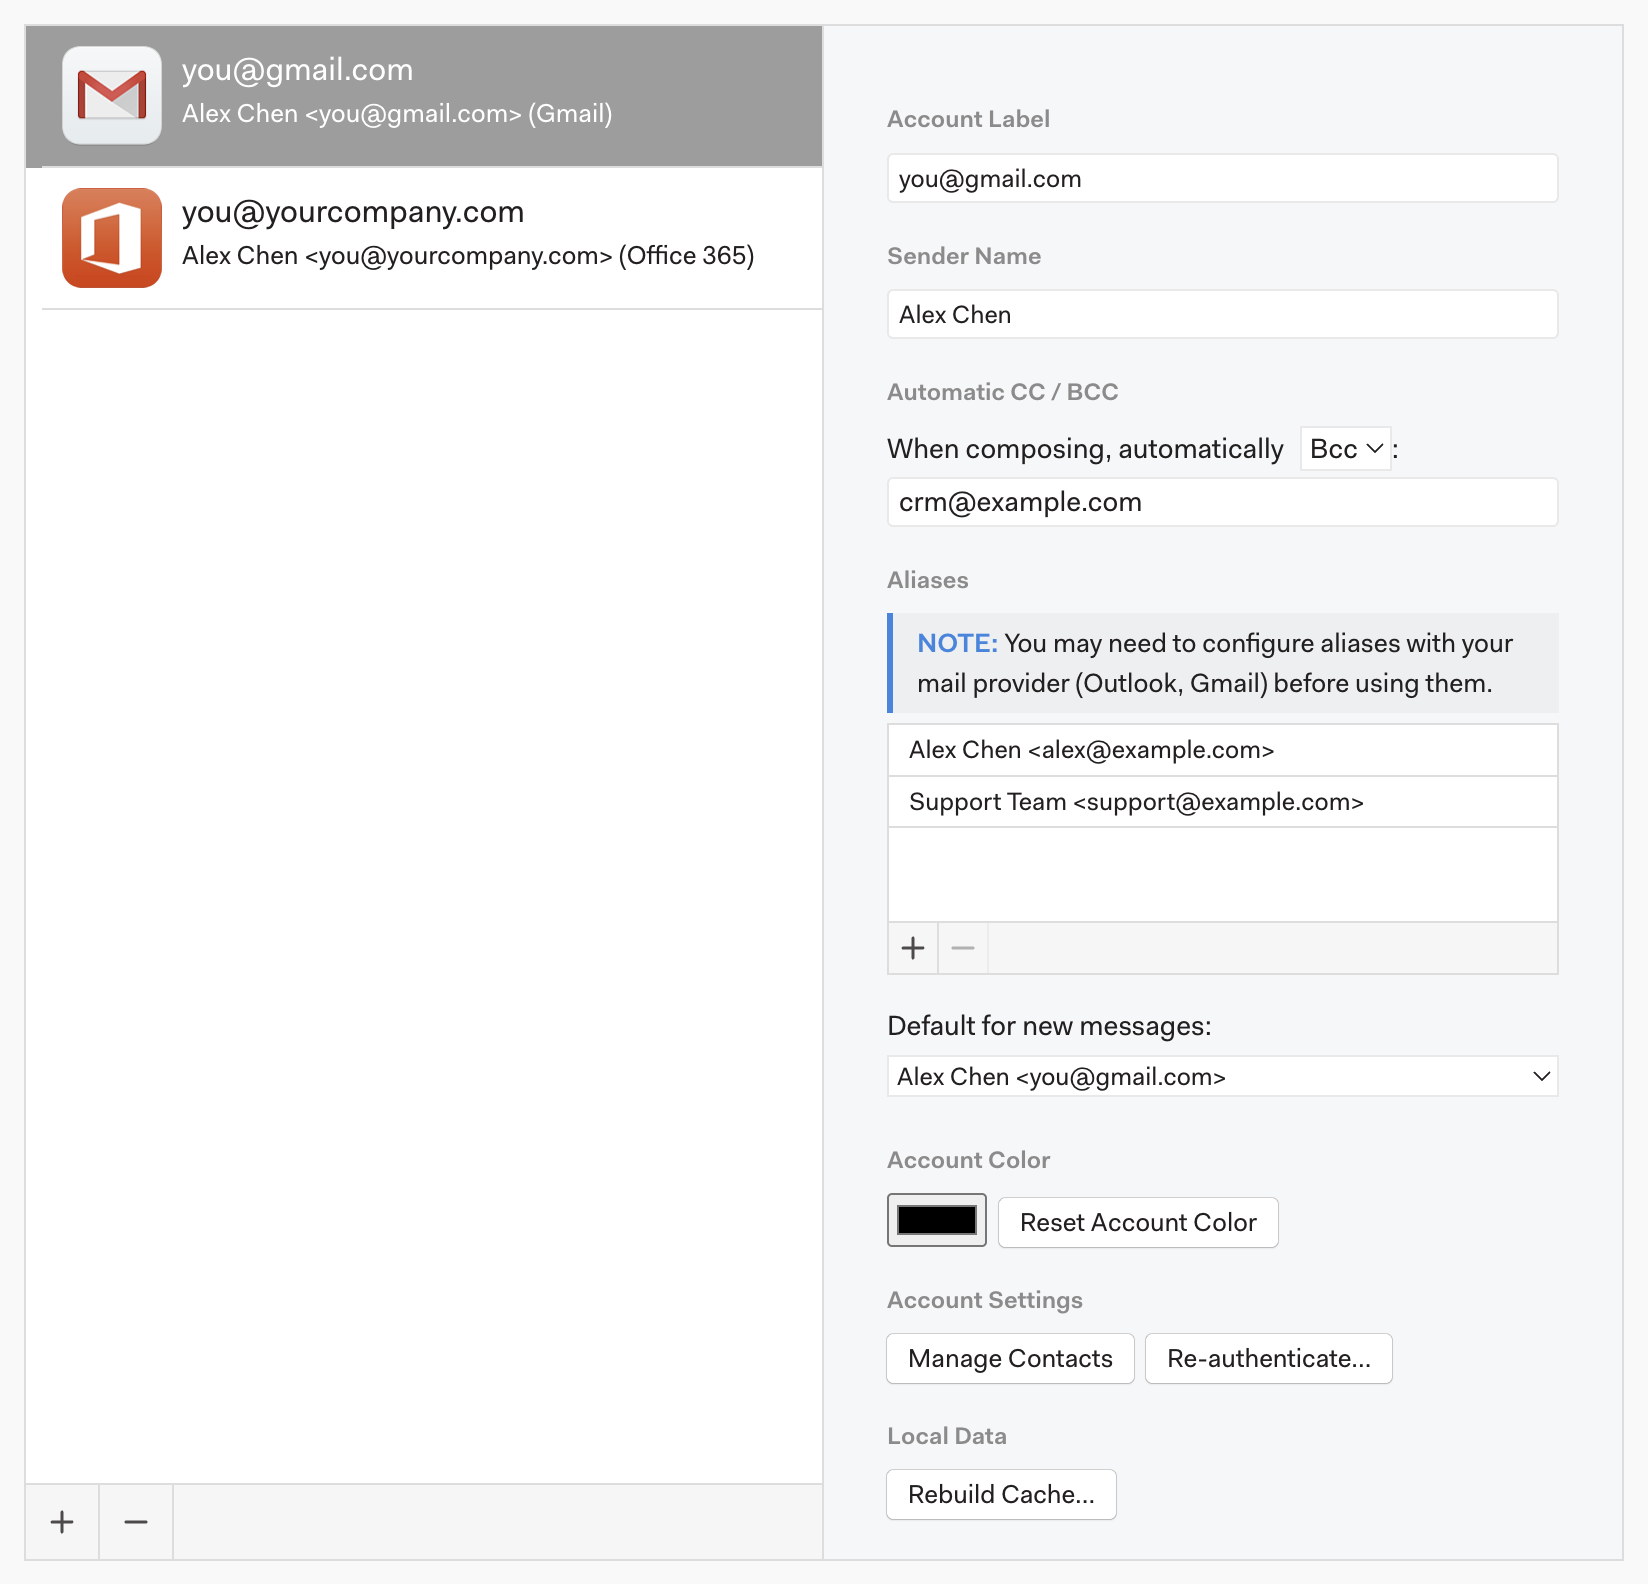
You can connect as many email accounts as you like — there is no limit in the free version. Go to Preferences > Accounts and click + beneath the account list. Once setup completes, the account's messages, folders, and labels appear in the sidebar.
The unified inbox
With more than one account, the top of the sidebar shows All Accounts: a single Inbox, Unread, Starred, Sent, and so on that combine every account. Click the small arrow beside one of these items to expand it and see the per-account folders. Click an account name lower in the sidebar to work in just that account. Accounts can't be excluded from the unified view, but you can drag them into a different order in Preferences > Accounts.
Telling accounts apart
Select an account in Preferences > Accounts to give it a short Account Label (shown in the sidebar) and an Account Color. In the unified inbox each conversation is tagged with its account's colour, which makes mixed work and personal mail easy to scan.
Which account new messages come from
By default, a new message is sent from the account you're currently viewing. Change this under Preferences > General > Sending > Send new messages from. See Setting the default email account.
--config-dir-path=/path/to/another/folder to run it with an independent set of accounts, settings, and cache. Only one instance can run at a time.